Porcelain

My Advanced students when given a choice of material to sculpt with will almost always chose porcelain. I  prefer to use Hagi porcelain, a type of Japanese clay with a really smooth texture. This material is excellent for small, refined details and many students prefer to sculpt with Hagi over other clay bodies with sand.

 Hagi porcelain is considerably more expensive than most other clay, so it is best to have students create small projects first to get accustomed to the feel of the clay and its limitations. When this clay becomes leather hard it is very easy to carve into and does not crumble, the consistency is close to soap or wax.
Student Hagi sculptures in progress

Drawing Exercises

I have noticed that students have become more dependent on using their smartphones in class to look up images for drawing prompts. I can walk by a table and hear them saying things to each other along the lines of "what do giraffe horns look like?" or "do you think this looks like a _____?" I don't mind them using the google image search to fetch the occasional image of something they want to draw but maybe unfamiliar with. But there are a few in every class who rely to much on image searches and not enough on their own "mind's eye" to just draw what they think it looks like. This can decrease the chance of serendipitous artwork and the feeling of creating something wonderfully different from your original intent.
Figure drawing using different techniques

Some just can't resist posing in this great natural lighting


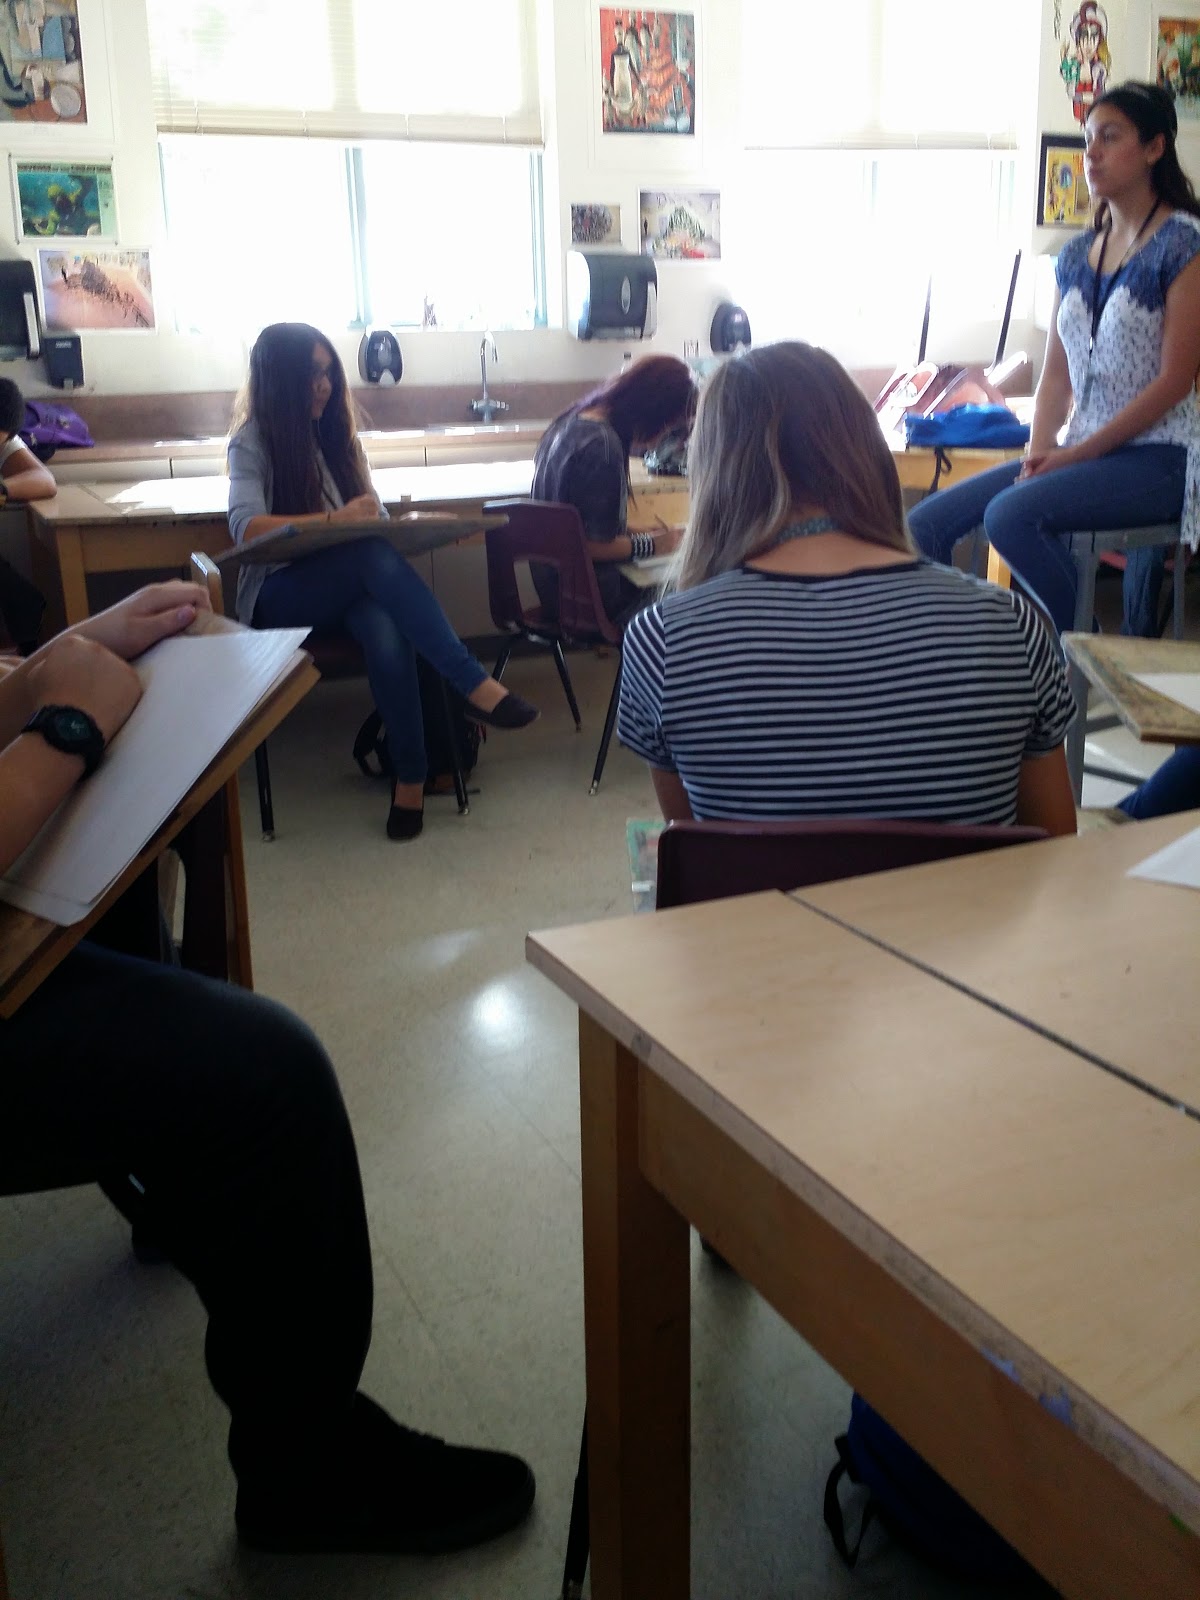
Contour, Blind Contour, Gesture and just observational drawings were explored during the course of the week. I wanted to focus solely on observation of  what is in front of your eyes, no image searches this week.Experimenting with different mediums like the vine charcoal yielded great results for some groups and mixed results at best for others.


I stress with students that were are merely going through the motions of some drawing exercises, and exercises require repetition in order to see improvement. This helps the students who lack the confidence to loosen up an enjoy the process and not worry about what the end results look like. This was particularly true of the blind contour, not begin able to look at the paper really levels the playing filed for the entire class, myself included.


Both model and artist were really happy about this particular contour drawing
Blind contour gets them super-focused-albeit for only two minutes


Taking turns drawing each other
Works were evaluated on a pure effort basis, I sound like a broken record when I tell the class "what you put into it is what you get out of it". This happens to be particularity true of drawing exercises.


The Document Camera/Projector

Finding just the right spot
 is important
Using a document camera and projector has been a real lifesaver on many occasions. Having the projector on a cart is best because you can move it around the room. I use the camera to show students' drawing prompts and also use it on a variety of projects where a certain level of accuracy is needed. Students sometimes lack to confidence to free hand large works like our painted ceiling tiles so the camera can be used as a guide and really add to a work.

using existing artworks in a new format


MORE WHITE BOARD

I found some more images that I somehow managed to preserve before I erased them for the next day's drawing


Linoleum block prints

A great experiment with inking different colors on the same plate

fine lines and a nice positive/negative balance

A balance of image and text

A painstaking process to print clean lines

Visual Rhythm Patterns


These patterns created using a grid. The grid can be scaled up or down depending on the level of concentration. Students chose a theme of their liking and created three simplified shapes associated with the theme. The patterns were a choice of regular, random and alternating. Materials are your basic paper and drawing/coloring mediums. The only extra material that we used that I highly recommend for future projects is carbon paper

Metal embossed cultural artifacts

This is a good project to go along with any type of printing project like linoleum block, since students are in the mode of working backwards and in reverse for printing projects.

Metal sheets come in a roll or pre-cut. I prefer the pre-cut sheets because the roll can dent and you have to roll out the sheets and cut with a pair of tin snips (regular scissor work but will dull quickly). 
The metal types available are aluminium, brass or copper. Students prefer to use the aluminum sheets are they are softer and easier to press into(and aluminum is much cheaper than copper).Small drops of india ink can be added afer the image is pressed, this helps outline the image and can highlight textures and lines while giving a nice patina-type effect. 

Students like the aged look of the ink on metal and their subject for this project was modern day "Cultural Artifacts"


THE WHITE BOARD

I use the white board for examples, diagrams and instructions on a daily basis. Staring at the glossy white surface and coming up with a daily drawing prompt can be a real challenge. I do keep a list of topics but most of the sketches are spur of the moment.


 I tend to erase them the next morning without documenting them, but I am trying to change that habit....

Scratch Board "Emphasis"


Scratch board is a common art project and can be a challenge for students when trying to create their values in reverse. The subject matter for this particular project was a theme of a random choosing but the image must focus on a type of emphasis such as isolation, location and convergence. I highly recommend using the scratch board and not the scratch paper and the small wire scratch brush tools are great for texture, and implied values

Plaster figures

This project was developed by my student teacher, Joe Poore.
This is a good lesson to use when students have already worked on other sculptural forms like wire, so the armatures are easily created.
Aluminum wire is bend and posed in a position that gives a dynamic sense of movement. We had students draw strips of paper with  an "action word" printed on them, this eliminates a class full of similar poses and challenge a student to pose a figure in something non traditional like "sneak" or "slap".
Sneaky Santa
Aluminum foil is then wrapped around the wire in large segments. aluminum is light and adds volume to the wire frame. Plaster mesh strips are cut into small segments and put around the foil. The plaster strips should be smoothed out when wet to eliminated the mesh look and it also helps it adhere to the foil.
Make sure you have students build some sort of platform for the legs. Balance will be an issue because the aluminum is lightweight but the plaster adds significant to it and if it was balanced at the foil stage, it may not be balanced at the plaster stage. Finished pieces can be painted with any kind of paint, we used acrylic.
Some works really fit together well as a collection, ans this was one of them.